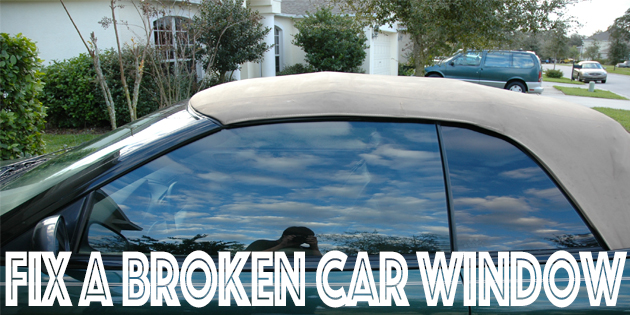
Given the number of times a car window is rolled up or down during the life of a car, it is a miracle that the window regulator mechanisms on any car work for a long as they do. However, nothing lasts forever, and at some point in your life, you may have to deal with a window that will either not close, or roll down.
In general terms, fixing a power window is not an overly difficult or complicated affair, so if you have to repair broken power window on your car, but don’t want to pay a mechanic to do it, just follow this step-by-step guide in which we explain the correct procedure.
It is difficult to say how much a repair of this type will cost. Replacing a fuse can cost only a few cents, but replacing an entire motor mechanism or control unit can run into many hundreds of dollars. Use this cost estimating tool to calculate the costs for your area to get a better sense of the total cost involved.
Time required:
From about five minutes to locate, and replace a blown fuse, or up to an hour or so the replace a window winder motor.
Difficulty level:
Easy to moderately difficult.
Special precautions:
- Do NOT short out wiring to see if they are live- use a proper 12 volt test light to check circuits. Test lights are available from all auto parts stores for a few dollars.
- If you have to remove a door panel to gain access to the winder mechanism, use a proper trim removal tool to unseat the clips that secure the panel to the door frame to prevent damaging the panel.
You will need:
Note that this list includes items that you may, or may not need, depending on your car, and the particular problem with your window.
- Repair manual.
- Test light.
- Digital multi-meter.
- Spare fuses of the correct amperage.
- Trim removal tool.
- Electrical switch cleaner.
- Replacement window winder mechanism.
- #2 Phillips screwdriver.
- 10 mm ¼-inch drive socket, ratchet handle, and extension bar.
- Flash light.
Step 1.
The most common cause of power window failures is a blown fuse. However, fuses often don’t need a reason to blow, so consult the manual to locate the affected fuse, and replace it with a fuse of the same amperage. Test the window; if it works, you have solved the problem. If it still does not work, proceed to Step 2
Step 2.
Operate the control switch a few times in quick succession, and also place more pressure on the switch than usual. Chances are that the window will show some movement- if it does, it means that the contact points in the control unit is gummed-up, or perhaps burnt away.
To confirm this, GENTLY pry the control unit out of its cavity, and see if there is room to spray some electrical switch cleaner into the switch itself. This is possible in almost all cases, so go ahead, and spray a fair amount of cleaner into the switch while operating the switch at the same time.
If the window now works, good- you have solved the problem. If it does not work, disconnect the electrical connectors, and place the control unit aside. Next, consult the manual on which wire carries current to the vehicle side of the connector, and use your test light to see if there is indeed current on that wire. Connect the clip to a proper ground connection, and place the tip of the probe on the correct terminal in the connector. If there is current present, the test light will light up- if it does, the power window control unit is defective, and it must be replaced.
Step 3.
If there is no current on the wire that should be live, the best option would be to seek professional assistance, since tracing a break in a wire can be extremely challenging.
However, if by great good fortune you have a replacement control unit at hand, connect it to the wiring via the electrical connectors, ad test the window again- if it works fine, you have solved the problem. If it still does not work, proceed to step 4.
Step 4.
Consult the manual on the correct procedure to remove the door panel, and remove it carefully so as not to damage anything. For this step you need to reconnect the control unit, but be sure not to let it hang from its wiring. Use an assistant to hold the control unit for you, and follow the instructions in the manual EXACTLY to check for continuity in the wiring harness, or do the following:
NOTE: There will be three wires that connect to the motor from the electrical connector. One will be a common negative; one other wire will supply power to lower the window, and the other will be to supply power to roll up the window.
Consult the manual to identify the common wire in the connector. Set your multi-meter to 12 V DC, and place the black probe against the common, and the red probe against any of the two remaining terminals. Operate the window switch, and check the current on the multimeter display. It should be 12 volts or more. Repeat the test for the other terminal. If you get a reading of 12 volts or more here as well, the motor is defective, and it must be replaced.
Step 5.
Follow the directions in the manual on the correct procedure to remove the motor from the door.
NOTE: Even though window winder motors all look the same, there may be differences between yours, and the motors in other models within the same model range. Use the motor you have removed from the door as a sample when you buy a replacement, and make sure it is a branded part. Better still, buy a replacement from the dealer to make sure you get a unit that will last for a reasonable amount of time.
Step 6.
Reassembly is in the exact reverse order of removal, but do not replace the door panel until you have connected and tested the window to confirm that it works properly. Replace the door panel, and remove all tools from the car.
Enjoy learning how to fix a broken car window?
If so, please share this article on social media. It helps us tremendously!


No Comments